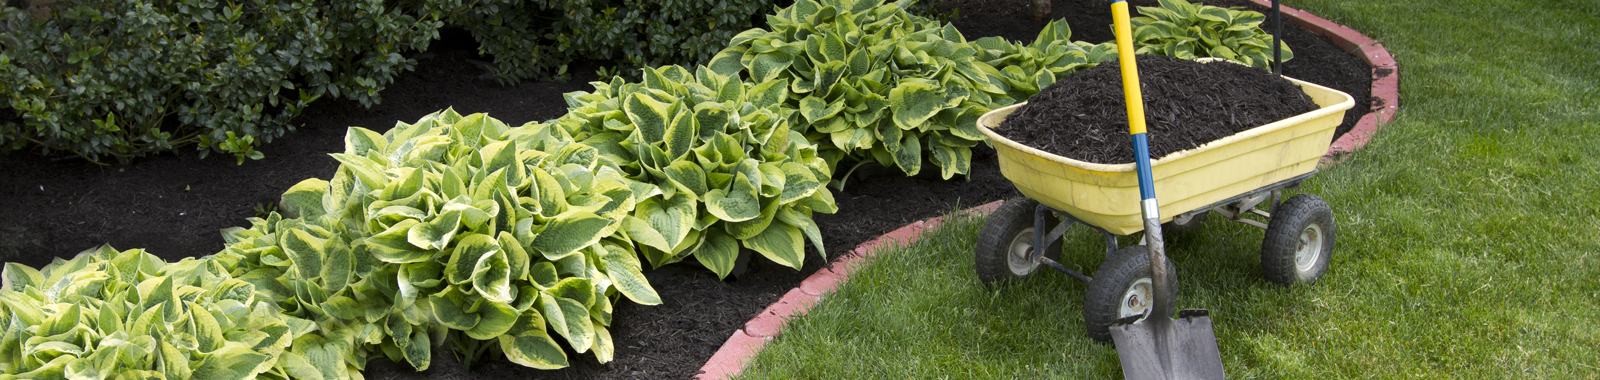
If you have a concrete patio and you want to beautify it, installing pavers on it is a good idea. Patio pavers look amazing and provide a sophisticated look and feel to your patio as well as your home. Here is a step-by-step guide on how to install patio pavers.
Pavers come in various types. Choose the paver according to project type. If you want to create a brick patio, choose paving bricks, instead of pavers meant for outdoor fireplaces and walls.
In case the project is rectangular or square, drive a spike in every corner and then draw lines between those spikes by spray painting to mark the area you will dig. For a project that’s irregularly shaped, mark the edges using spray paint. Make a call to the ‘Call Before You Dig’ phone number prior to starting digging.
It’s time to start digging. You have to remove around 8 ½ inches of the ground for installing pavers as well as a base for the pavers. This would allow crushed stone of 5 inches, sand of 1 inch, and the paver’s thickness, which is around 2 ½ inches. If the pavers vary in thickness, change the depth of excavation accordingly. While digging, keep measuring the hole’s depth. It’s better that you dig a hole that’s a bit deeper than shallower.
After digging the hole, you need to fill it. Firstly, a landscape fabric layer should be installed in the hole. Next, put crushed stone up to 5 inches. This would create a strong foundation for your pavers and still allow them flexibility. This becomes more important if the area you reside in is susceptible to freeze/thaw cycle. While adding crushed stone, keep checking the depth periodically as before. Rent a compactor or utilize a hand tamper for compacting the crushed stone.
Adding another landscape fabric layer serves two purposes. Similar to the first fabric layer, it hinders weed growth. Additionally, it prevents the sand you’re going to put, from getting mixed with the installed crushed stone, while letting water drain through simultaneously.
The 1-inch sand will serve as the setting bed where the patio pavers will be placed. Invest adequate time to carry put this task as perfectly as possible, as this will determine how easy the rest of your project will be.
Put each of the ends of your long 2×4 over a guide. Slide your 2×4 over the guides, and level the sand you’ve installed in the process. Move across the region 3 to 4 times, removing or adding sand as required.
Compact the sand with a compactor or hand tamper. This is a crucial job since if the sand is not compacted, it will be settling over time. If the sand settles, the pavers will settle too, creating valleys and dips in the project area.
Add some more sand and then repeat the process of screeding. This would create a flat surface for a set of the patio pavers. Don’t walk on the sand after screeding.
Before starting the installation of the patio pavers, referred to as ‘setting the pavers’, it’s important to have a straight line for working. A long 2×4 can be employed as your straight edge. Otherwise, two spikes can be driven and a string line can be hung between them that serves as the straight edge. For the pavers to line-up correctly, you need to start straight.
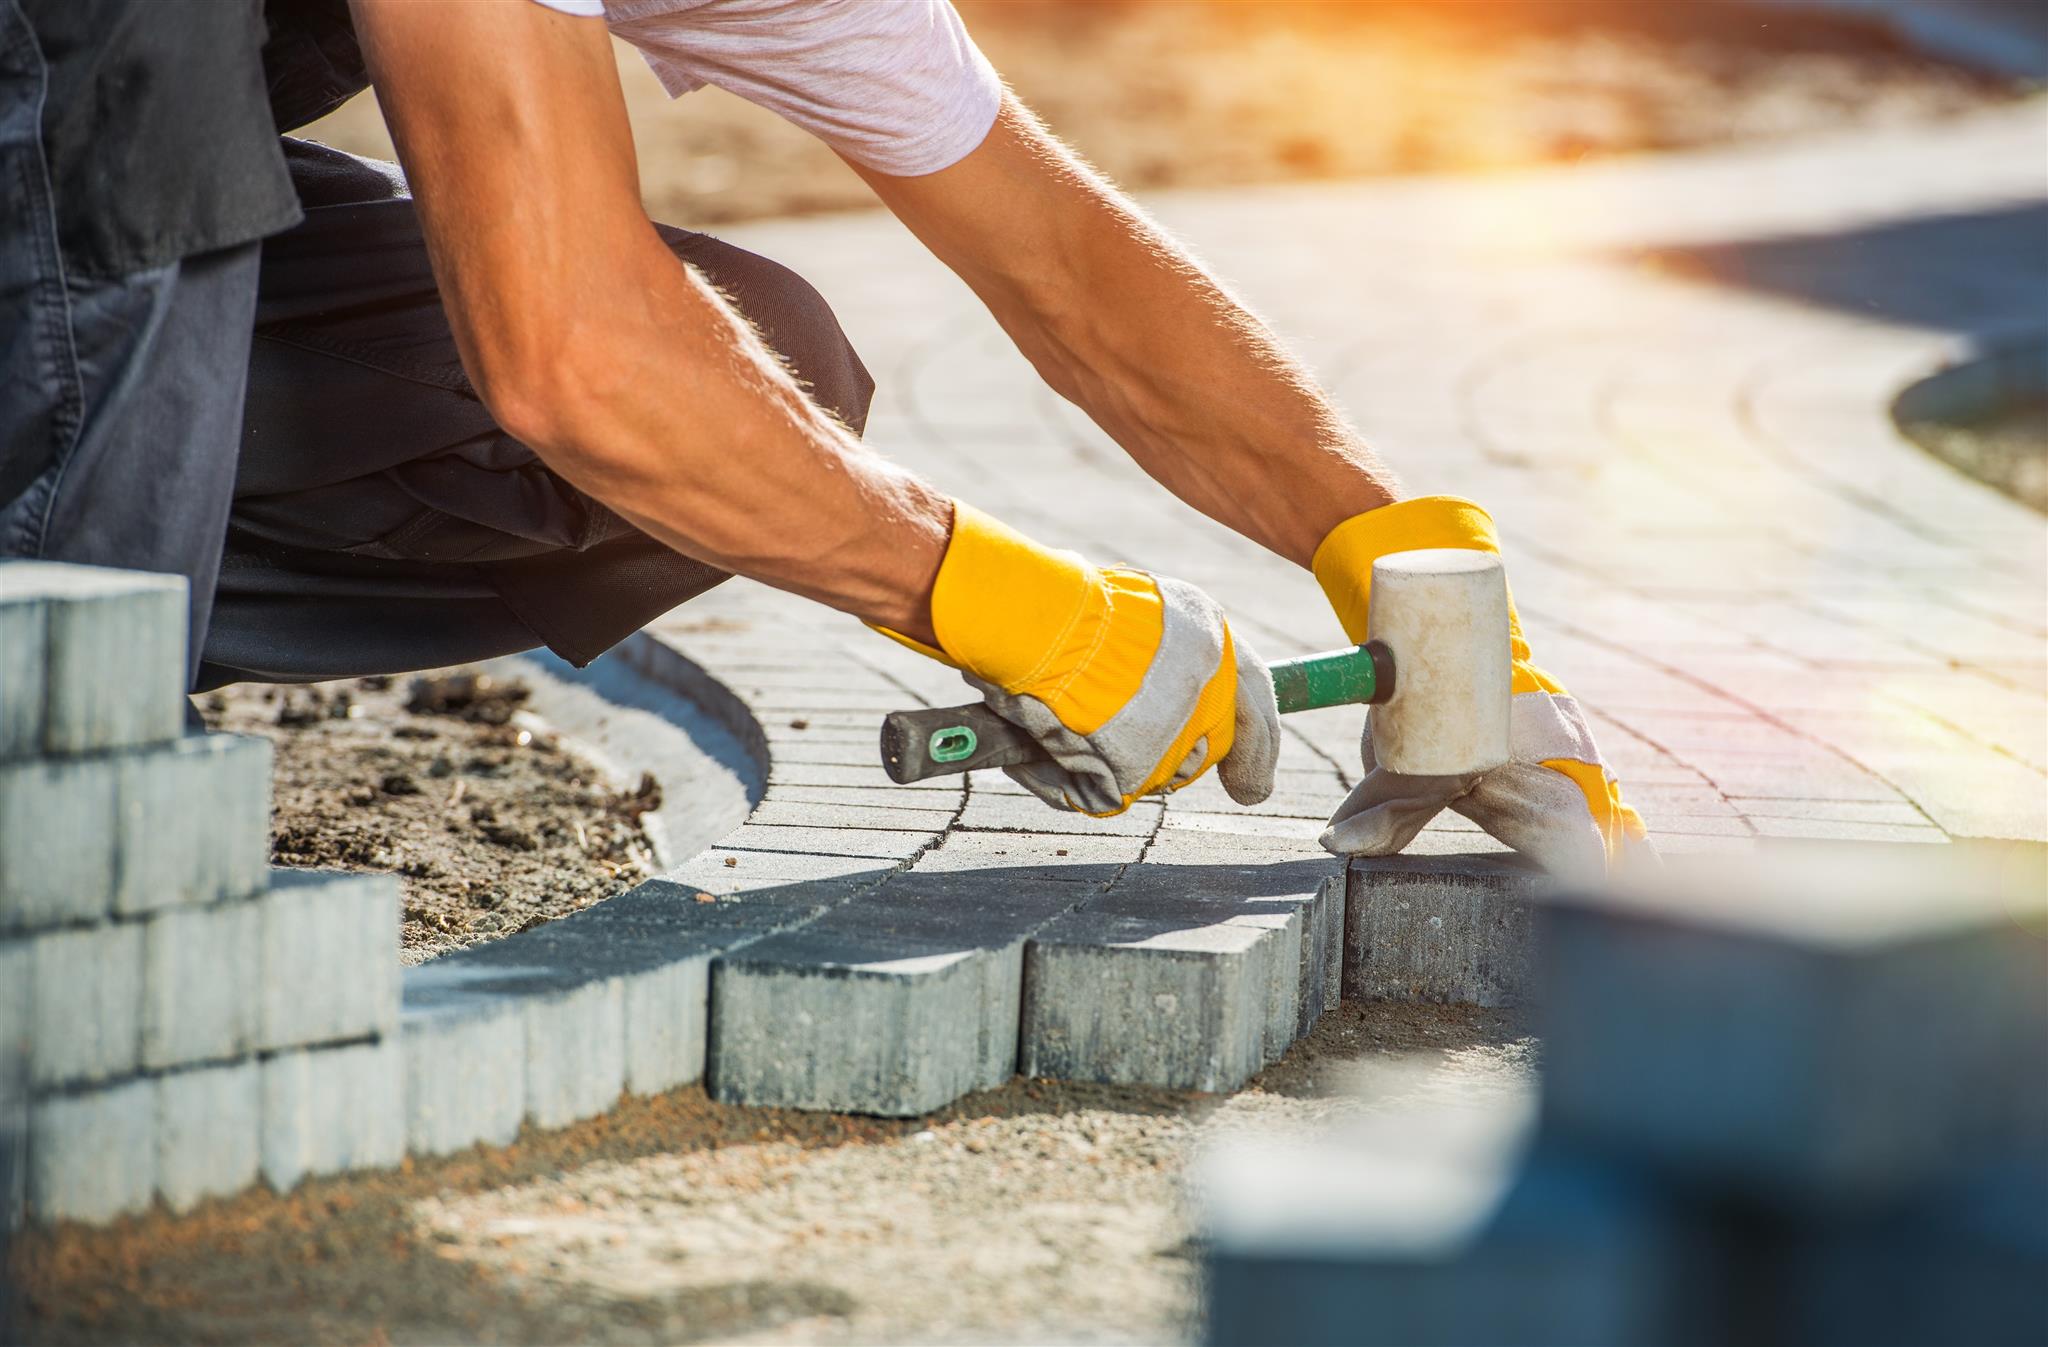
After completing the preparation work, you need to start placing the pavers in the sand. So, start the work while using the straight edge in the form of a guide. Place the brick pavers close to one another. The pavers will still have a fine joint line between them, which should be filled up later with sand. Check the flatness using a level. Knock down the high pavers, if any, using a rubber mallet. Put more sand to reset the low pavers, if any. If you’ve leveled the sand with the screed well, you won’t need to carry out much leveling now.
The pavers may need to be cut at the edges of the project area. Learn how pavers should be cut and then carry out the job.
Your project area’s perimeter is likely to require an edging for keeping the patio pavers in place.
After setting all the pavers, fill the spaces between the pavers using a special type of sand – polymeric sand. It is a fine sand containing additives reacting with water for creating a strong bond within the pavers. Sweep the sand within the paver joints by making use of a large broom.
Remove all polymeric sand on the paver surfaces using a leaf blower or broom.
Turn on your hose while setting it to the light mist, and then water all your pavers gently. This will activate the polymers of the sand. Don’t flood the joints as that may cause the sand to wash out. It’s better to have a light mist. Let the sand dry for about 10-15 minutes. Then, wet it again.
Following these steps would help you install your patio pavers well. If you are not proficient at such jobs, you may consider seeking the help of a professional.

Aug 2 2019

Jul 26 2019

Jul 3 2019